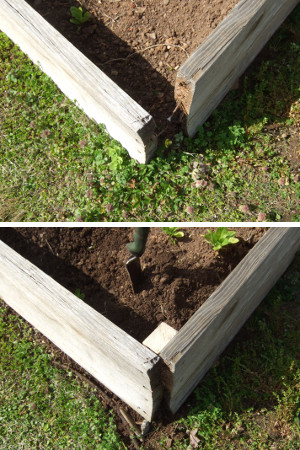
A little maintenance on the garden boxes will prolong their usefulness.
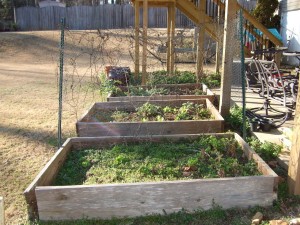
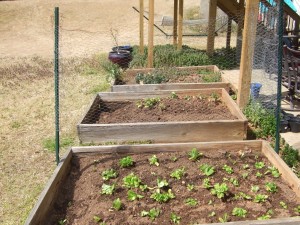
We began our garden project seven years ago with a few seeds in an unused flower bed. The next year we built three raised bed boxes measuring 6 feet by 4 foot each. We decided to not use treated lumber because we didn’t want to take the chance of any chemicals leaching into our food. To hold it all together, a few deck screws were used through the end of the boards. Nothing fancy and it’s served our needs all ever since. As the dirt has settled, we can see where the bugs have eaten away between the grain of the boards beneath the soil line. Last summer, we noticed some warping now that the boards are no longer the same width all the way down. The wood is also becoming brittle.
Two of the beds announced their need for attention with a pop as the screws pulled through the end board. Those protruding screws leer from the ends of the board menacingly and I don’t like the look of it. Once the dirt start falling out the opening, it was the final straw. A simple 2 x 3, which was cheaper than the 2 x 2 I had in mind, made a nice mend and I was able to reuse nearly all the deck screws and add just a few more from the odds and ends bin.
Making Sawdust
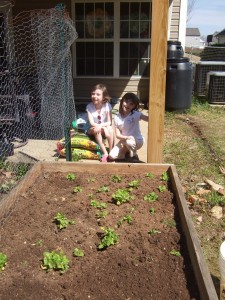
The minute I carried the 2 x 3 down to the garden, laid it across the beds and produced a hand saw and power drill, the children had a dozen questions about my intentions. We each got a turn making saw dust. My inquisitive kids, who aren’t concerned about a little dirt or using power tools, are the reason this is a family garden. Alex, the youngest, just couldn’t comprehend how the wood was turning into sawdust with each stroke of the saw. “It’s like when you snip a big piece of paper and have those small paper slivers left over,” I explained. With a pair of scissors, that boy can turn a single piece of paper into a small mound of fiber in a matter of minutes. Emily “the fearless” wanted to show that board the power she wielded, gripping the saw with both hands. Katie was most interested about how a saw work and why we didn’t need to plug it in.
Power Problems
The existing splintered wood and reused screws meant I would be doing to the power screwing. I plugged in the drill and nothing happened. Now this is turning into one of “those projects.” I try the other nearby outlet. I try the outlet on the deck and we are in business… if only I had an extension cord that would reach. This is the moment I wished I knew where the GFI reset was for the outside outlets. I seem to remember one on the outlets in the garage and after I moved enough things out the way, I tried it to no effect. I opened the circuit breaker but didn’t see anything labeled appropriately. This is when I recalled a second, smaller break box in the basement I hadn’t thought of in years. Peering inside, everything was in order but I reset two breakers anyway. It took so much effort to get this far, I might as well. Near by, behind an extra piece of sheet rock leaned against the wall, I found the outlet that was going to set this project back on track and with a push of the button, I headed back outside.
Building Raise Beds
One day, we’ll be forced to replace the existing boxes. I’d like them to last ten years and I think it’s doable. When it comes time again, I use a corner post initially because it’s a more solid design. Aesthetically, they are bare, non-obtrusive wood in the backyard. Nestled among the wooden deck posts, you hardly notice them. Functionally, they hold the dirt in place and give the plants a reasonable depth of soil for rooting. It didn’t take much thought or effort to assemble them so the time could be better spent cultivating out tasty crops. Each box is assemble from two ten foot boards. Each board was cut once to produce two six foot boards and two four foot boards. the thought of having to assemble raised boxes is not something that should hold you back from creating you own backyard garden.

